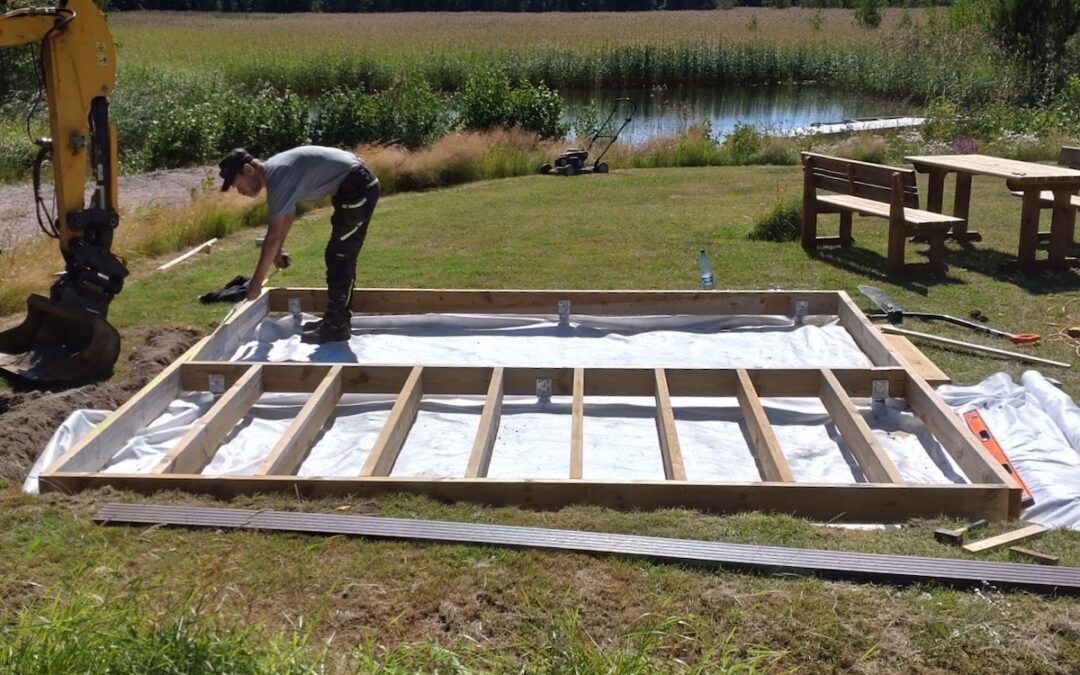
If you’re looking to cut costs on a home construction project, DIY is usually the way to go. From excavating to plastering, there are almost endless things you can do yourself to reduce costs. You just need to take a little time to find out best practice. But one area people are often unsure of is “do it yourself” screw piles. If you’ve not worked with helical piles before, the process can seem complicated. The good news is that installing DIY screw piles is much easier than you might think. So, what do you need to know?
Screw Piles Do It Yourself: The Complete Guide
What are “do it yourself” screw piles?
DIY screw piles are just like any other helical pile, but they are typically smaller, easier to handle and can be installed by hand. They are still essentially, an anchoring system for construction projects. They can be used for a variety of purposes – from providing foundations for a shed or garden room to supporting fencing. Remember, you can get different-sized screw piles to suit the needs of your project, a decking for example may require 1.2m long DIY pile, whereas a home gym might require a 1.7m pile.
What are screw piles made of?
High-quality screw piles should be crafted from high-grade structural steel. And designed to be long-lasting – typically around 75 years, which is way in excess of your average shed!
Where can you use DIY screw piles?
Screw piles can be used in a variety of soil conditions. From the softest sand to the heaviest clay. Even in water and flood-risk areas. The only real exceptions for screw-pile are where bedrock is at a very shallow depth or the ground is full of large obstructions. Otherwise, screw piles are perfect for use even in areas where there are tree roots present. Helping you to safely ground your structure without necessitating the removal or damage of the tree/s.
How can you install “do it yourself” screw piles?
1. Assess you ground conditions
Always ensure you have suitable ground conditions for screw-piles before purchasing any materials. Good ground can be clay, sand, gravel, chalk and so on. But even if the type ground is suitable, the quality of the ground will dictate at what depth you need to install the piles too.
2. Plotting locations
Before any installation takes place, make sure you plot out your pile locations clearly. Next, you will need to set your screw-pile finished level, so you know when to stop screwing the pile. Most people do this using a laser level.
3. Manual installation
Next, make a small hole where the screw pile needs to sit. Rest the tip of the pile in the hole, and rotate. This is usually a two-person job. And it will be made a lot easier with a screw pile installation tool (not a big expense). Once your pile has reached the correct depth, you can move on to the next pile.
4. Mechanical installation
If you have access to a groundworks vehicle, such as a skid steer, excavator, or even hand-held install machine, you can drive the screw piles into the ground mechanically. It’s essentially the same process as above. Just faster.
Whichever method suits you, once all the piles have been put in place, you can add anchor plates and continue with construction immediately. There is no need to wait for the piles to set. They can be used as soon as they have been screwed into place.
Are there any negatives to using DIY screw piles?
Apart from issues with bedrock and ground with obstructions, the main consideration when using screw piles is ground conditions. If ground conditions are favourable you will be able to achieve good support at a less depth, if the ground is poor you may need to go deeper with pile extensions. This can increase the cost of your project. This doesn’t happen very often because it is strongly advised clients conduct a soil investigation prior to purchase so there are no surprises. And if you do the proper research – understanding your soil type and accurately calculating the prospective load of your project – this shouldn’t be a major issue.
DIY screw pile installation can be a quick, easy, and cost-effective means to support a new structure. It can save you time and money. While ensuring that you have the foundations you need to secure your new building for decades to come.
Disclaimer –Information in this blog does not in any way constitute building advice or guidance for private or commercial building projects.